
Appearance
Control Panel
Settings
Here you can save the common settings.
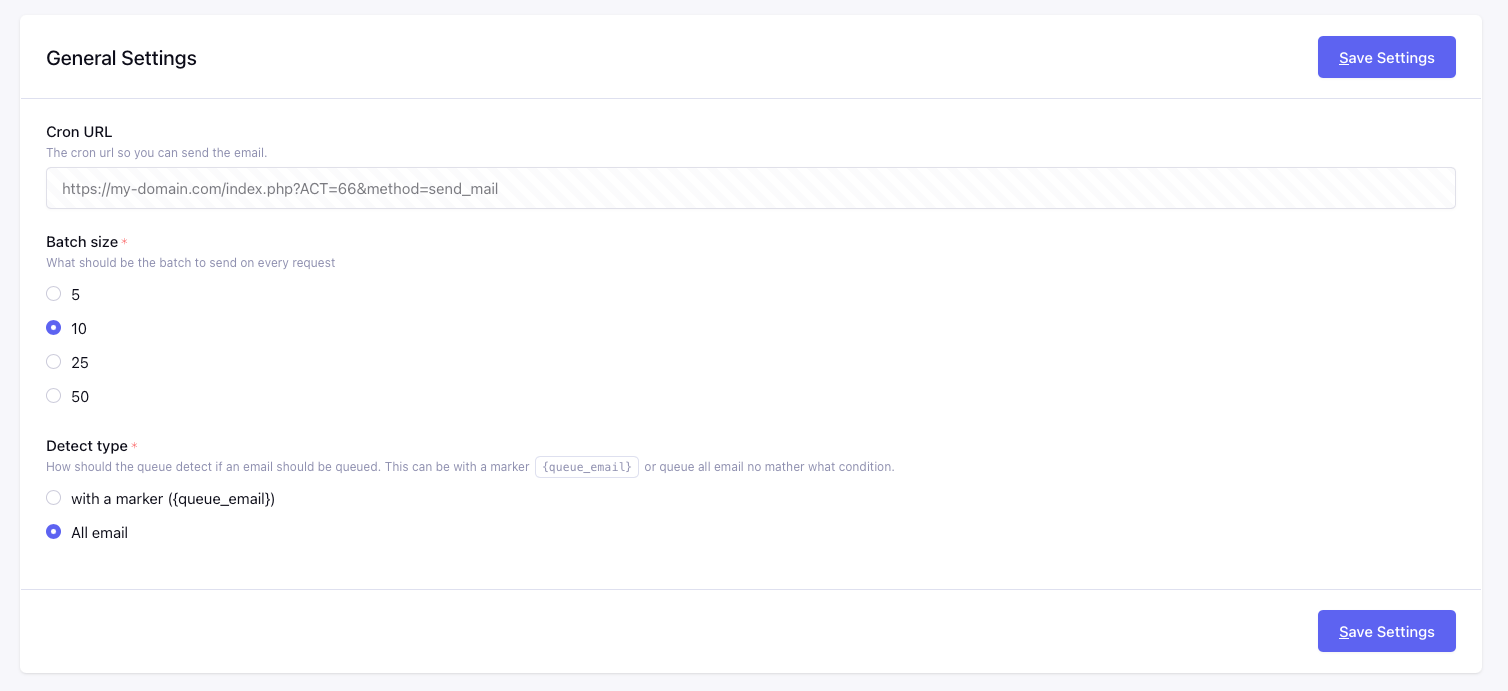
Cron URL
Not really a setting, but this is the url you should use for your cron job.
For example, sending the batches every hour you could use the follwing snippet.
0 * * * * /usr/bin/wget -O /dev/null https://domain.com/?ACT=19When a cron key is set, the key is part of this URL.
TIP
Before v2.0.0 the cron URL looked like ?ACT=<id>&method=send_mail. That URL keeps working, so existing cron jobs don't need to be changed.
Cron key
Available from v2.0.0
Optional. When set, the queue only runs when the cron URL contains &key=<your key>, so not everyone who knows the URL can trigger the queue. Use a long random string and update your cron job with the new cron URL.
Batch size
Define the size of batch that we will send per request to the cron URL.
Max attempts
Available from v2.0.0
How many times the queue tries to send an email. Every failed attempt is stored with the error. After the last attempt the email is marked as Failed and skipped, so it no longer blocks the other emails in the queue. Emails that failed before are sent after the new emails.
Detect type
There are 2 ways of marking an email to be sent with the email queue.
- With a marker - Simply place a marker
{queue_email}inside the body of the email - all email - All email will be send via the email queue.
Email Config
In some situations, most likely when you use your own PHP mail to send the email, you need a SMTP that can handle more traffic at once. Here you can enable the custom SMTP provider that will be used when sending the email
Use site email config
Use the EE email config or use your own SMTP config. When enabled you can enter your own SMTP config like smtp_host smtp_user smtp_pass etc...
Overview queue
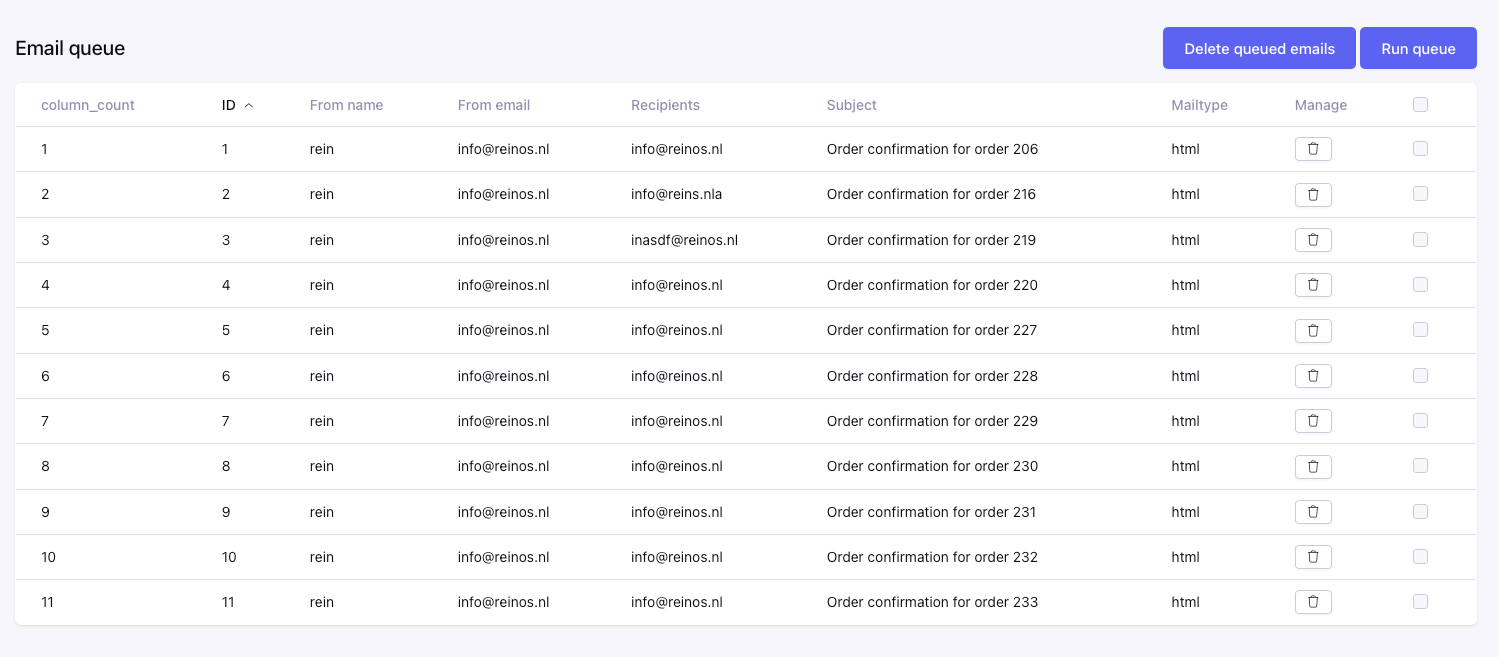
This is the current queue. You can delete specific items, all items or run the queue manually.
Available from v2.0.0: the Status column shows if an email is queued, retrying or failed, and the Last error column shows the error of the last attempt. Errors are also written to the log. Use the Retry failed emails button, or the Retry bulk action on selected emails, to reset the attempts so the emails are sent again on the next run.
Logs
The log of the add-on for the current site, for example the errors of emails that could not be sent.
Available from v2.0.0:
- Filters: filter the logs on severity, date (a period or your own date) and a keyword in the message, and choose how many logs are shown per page. The filters stay active when you sort or page through the logs.
- Bulk delete: select logs with the checkboxes and choose Delete in the bar at the bottom.
- Export logs: download the filtered logs as a CSV file (separated by
;).
Delete all logs deletes all logs of the current site.